Making a basic 1D member model
This tutorial will cover the basics of how to set up a simple 1D model from scratch in GSA-Grasshopper. The methods here can be applied to modelling beams, columns, braces etc., in any structure.
The key outcomes are:
- Creating 1D members
- Creating supports
- Defining materials and cross-sections
- Applying loads
- Setting up analysis
- Viewing results
Oasys GSA-Grasshopper: Making a basic 1D member Model
Creating a GSA model in Grasshopper
Search for the Polygon component.
Use the sliders to set your radius and number of segments inputs.
Use the Explode, then Extend components to extend the curves of your polygon.
In the Geometry tab select Create 1D member  .
.
-
Connect the curve input. You can also choose to input a section or mesh size.
-
Set the start and end releases.
Select the Create support component  from the Geometry tab, to add supports to endpoints.
Use the buttons within the Create support component to set your restraint type.
The Perspective view should now show supports and pins.
Note: You can return to adjust any of the sliders at this point. Toggle to see the changes live in the Perspective view.
Tip: You can set the local axis of supports with the plane input in the Create support component.
Assemble your components into a model
Select the Analyse model component  from the Analysis tab.
The analyse model component can take existing GSA models, properties, loads and analysis tasks as direct inputs.
Tick to toggle Analyse task(s) and Elements from members on / off.
Connect your geometry types into the geometry input.
Note: If your Analyse model component box is orange, you should see a warning message. In this case, we have assembled the model, but as the model contains no loads, it has not yet been analysed.
Select the Save component  from the Models tab, plug the GSA model output from the Analyse model component into the GSA input of the Save component.
Clicking Save lets you save a .gwb file in the desired location, which can be opened and worked on in GSA desktop. You must always click the Save button to save any updates made in the Grasshopper model to the .gwb file.
Assign properties to your model
Part 1: Profiles
In the Properties tab, choose Create section  .
.
Use the Panel to input a profile. You can enter the standard terminology from GSA, in this example STD I 900 600 30 10. You can also use the Create profile component from the Properties tab to generate the string.
Part 2: Material and loads
In the Properties tab select Custom material  and add your material inputs.
In the Loads tab select your load type, in this example we have chosen Create gravity load  .
.
Connect to the Analyse model component .
Tip: In GSA-Grasshopper, loads can be applied to objects, i.e, beam loads can be directly applied to 1D members or elements, node loads to GSA nodes or Grasshopper points, etc.
Results
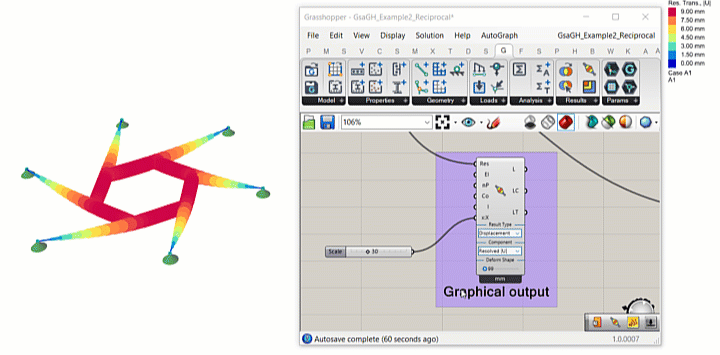
Choose Select results  from the Results tab to select the type of result you want to view.
Choose the 1D contour results  component and plug the output of the Results output from the Select results component into the Results input of this component.
After the results component is connected, you can go back and change any of the original input parameters. Your results will analyse automatically and be available to view on the Perspective view.
Tip: You can scale the thickness of the contours in the 1D contour results component.